Access Google Sheets Data Using a Service Account
Accessing Google Sheets data programmatically can be essential for server-side applications that need to read or manipulate spreadsheet data without human interaction. Whether you’re automating reports, synchronizing data, or managing inventory systems, accessing Google Sheets through a Service Account provides a secure and efficient solution for backend environments.
This tutorial will guide you through accessing a Google Sheet’s data from Genezio using a Service Account, which is ideal for server environments.
Prerequisites
Before you start, ensure you have the following:
- A Google Account: Access to the Google Cloud Console.
- An Existing Google Spreadsheet: A Google Sheet that you want to access.
Step 1: Enable the Google Sheets API
To access Google Sheets programmatically, you first need to enable the Google Sheets API in your Google Cloud project.
-
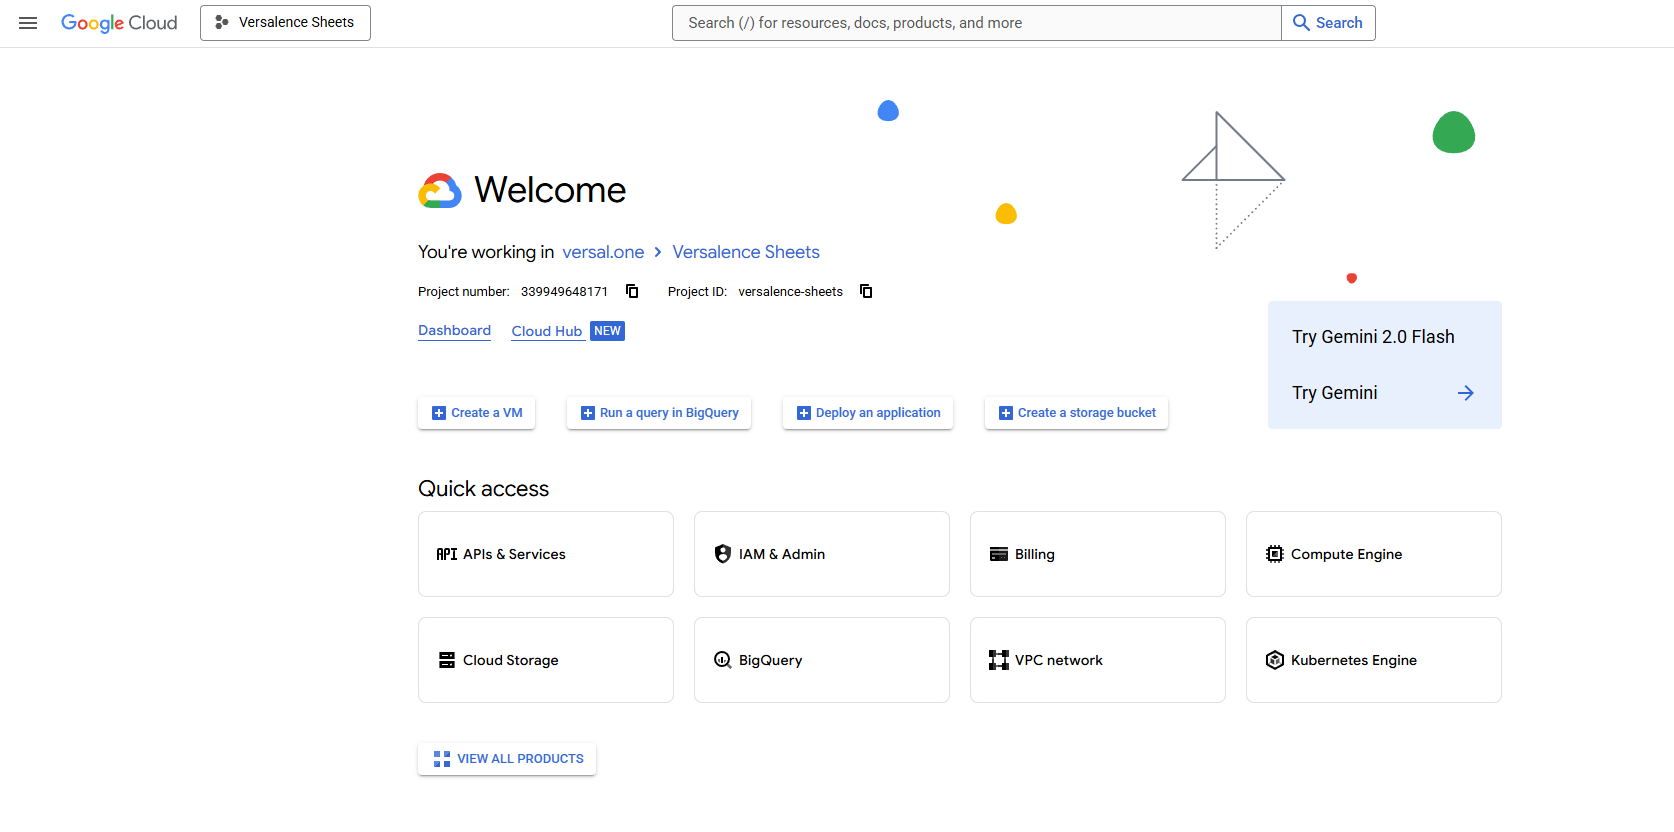
Go to the Google Cloud Console.
-
Create a New Project (if you don’t have one):
- Click the project dropdown at the top of the page.
- Click New Project.
- Enter a project name (e.g., “Google Sheets Node.js Access”).
- Click Create.
-
Select Your Project:
- Ensure your new project is selected in the project dropdown.

- Ensure your new project is selected in the project dropdown.
-
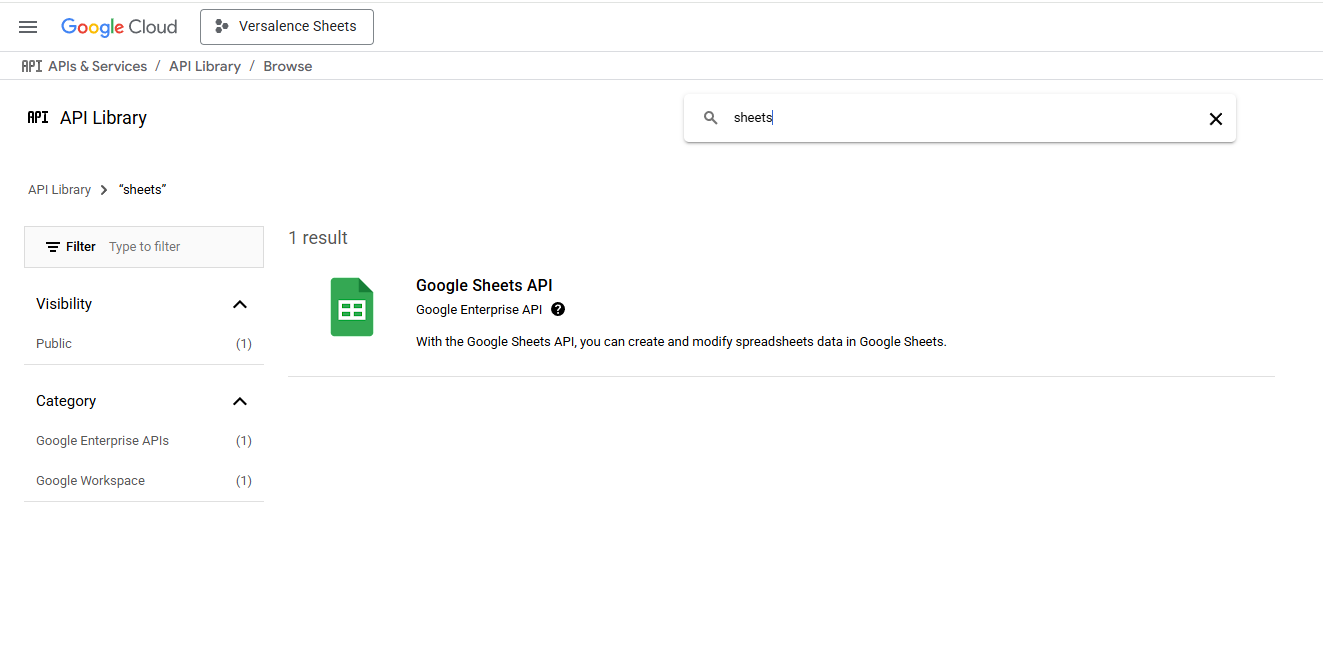
Enable the Google Sheets API:
- Navigate to APIs & Services > Dashboard.
- Click Enable APIs and Services.
- Search for Google Sheets API.
- Click on Google Sheets API and then click Enable.
With the API enabled, your project can now interact with Google Sheets data programmatically, preparing for the next steps.
Step 2: Create a Service Account and Generate a Key File
A Service Account allows server-side applications to authenticate without user interaction.
Important: Do not commit this file to version control. It’s sensitive information.
Step 3: Share the Spreadsheet with the Service Account Email
The Service Account acts like a virtual user. You need to share the spreadsheet with the Service Account’s email address.
-
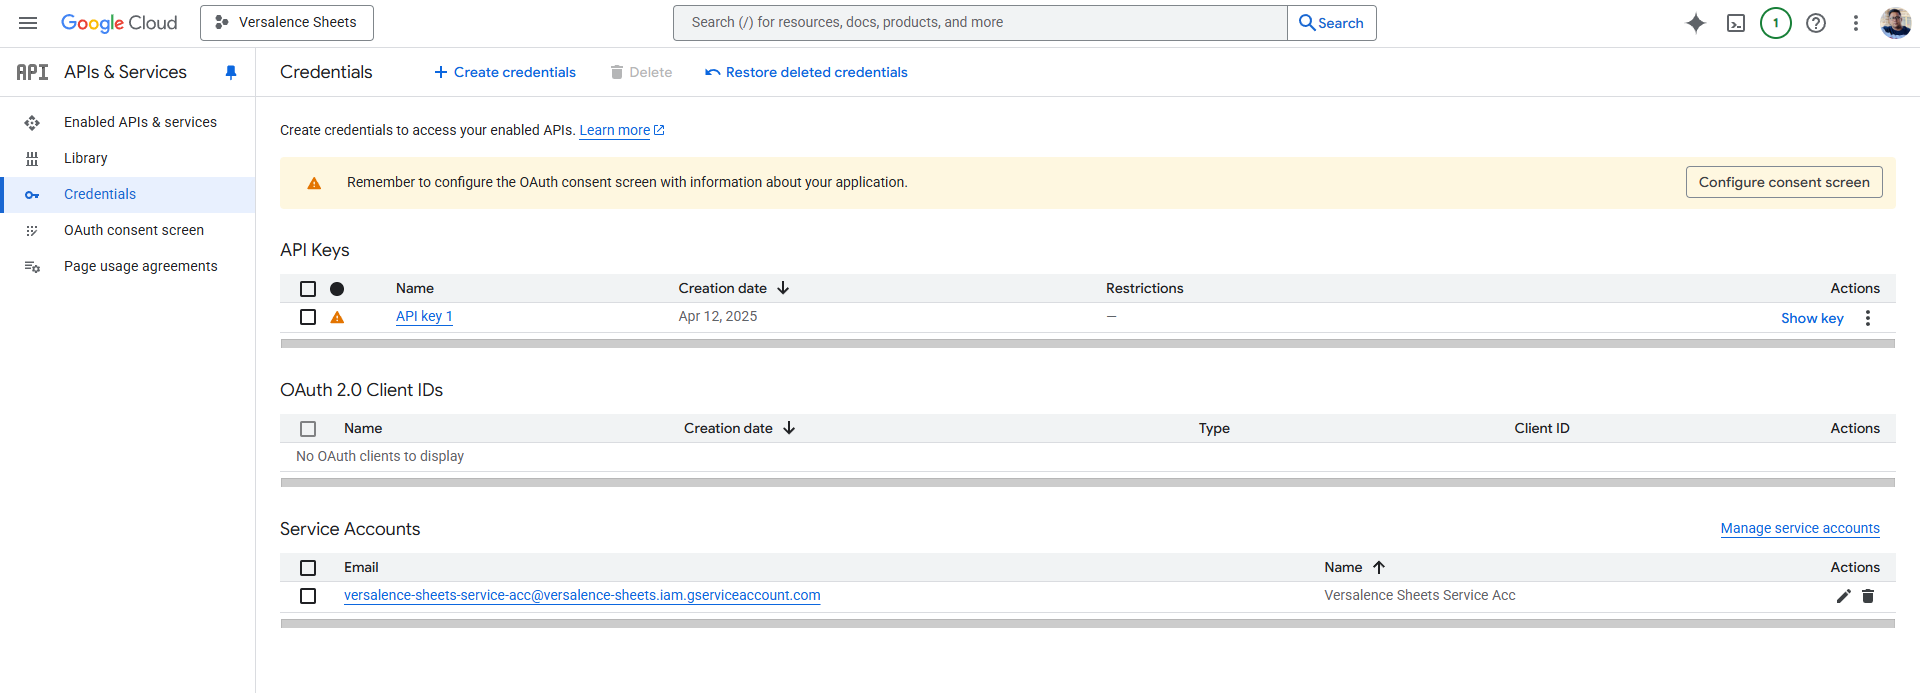
Get the Service Account Email:
- In the Details tab of your Service Account, locate the Email field.
- It will look like:
your-service-account-name@your-project-id.iam.gserviceaccount.com.
-
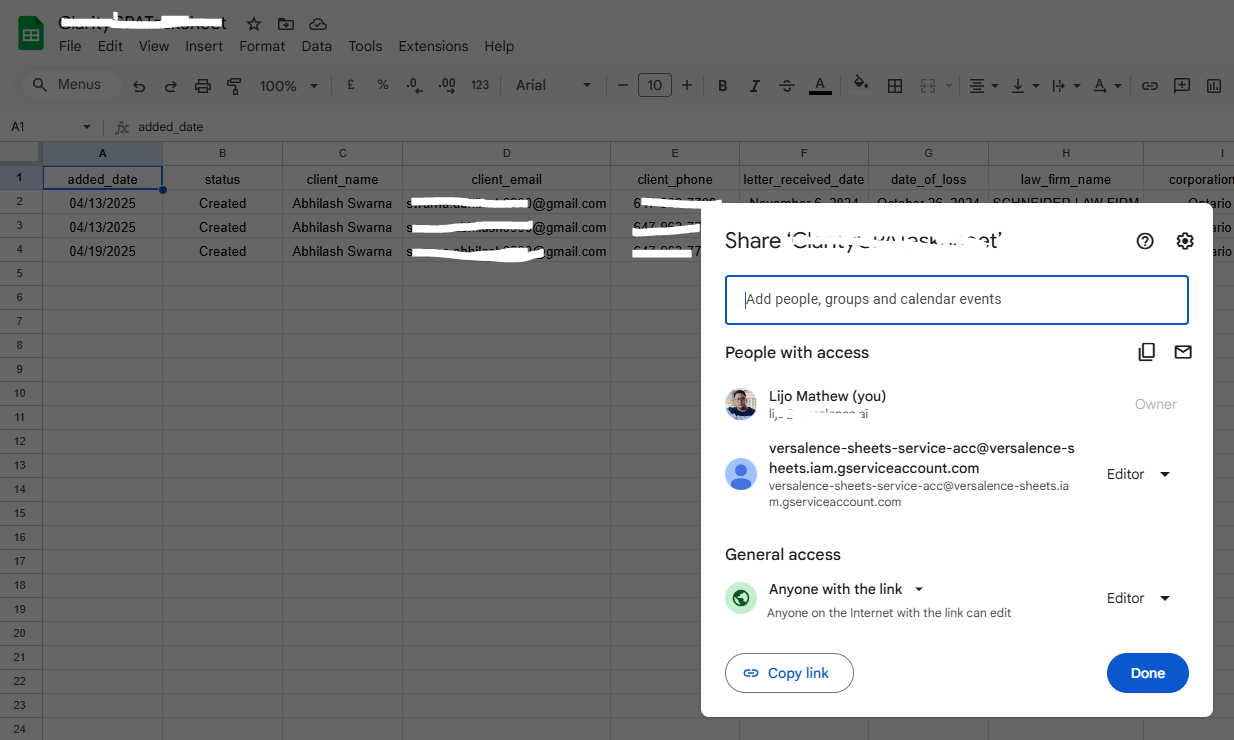
Share the Spreadsheet:
- Open your Google Sheet in a browser.
- Click the Share button.
- Enter the Service Account email.
- Set the permission to Editor (or Viewer if you only need read access).
- Click Send.